One of the main goals of this project is to allow players to evolve in huge worlds.
Huge, not only because the maps are infinite and the player can keep moving around forever (note: this isn’t entirely true, more infos about this in a future article!), discovering new parts of the world, but huge also because I want the draw distance to be extremely large.
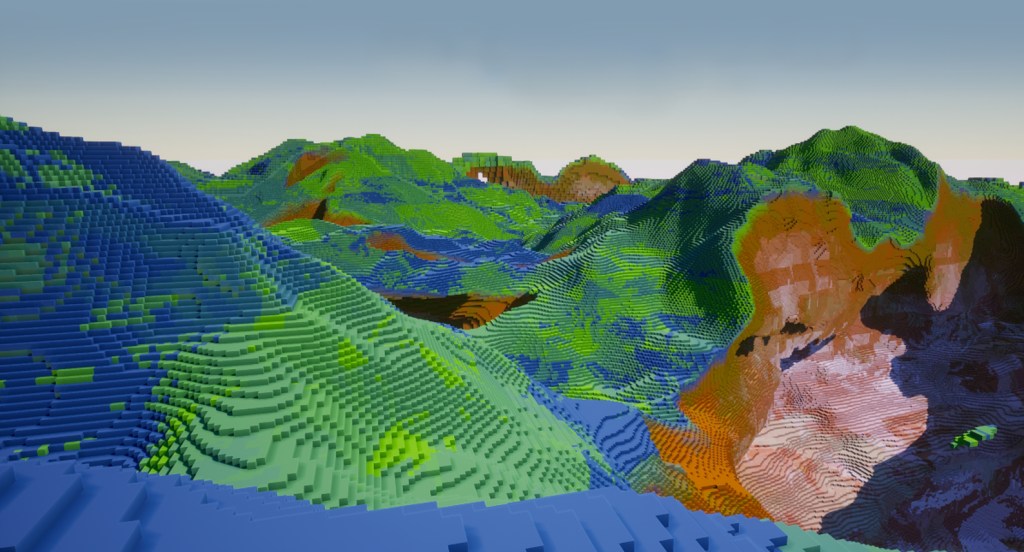
Indeed, what’s the point of huge worlds if the player can only see a tiny fraction of it at any given time?
Check out this video, in which I talk about various techniques I’m using:
Generating chunks
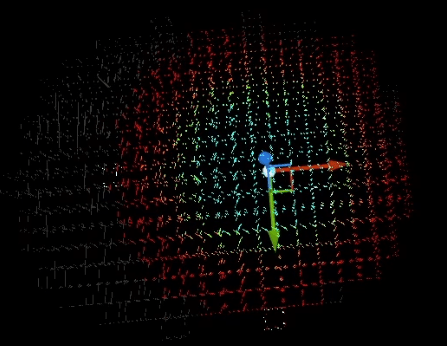
The first point discussed is the chunks generation: because I want a flexible system where I can load chunks wherever I want, I didn’t tie the generation to the player directly. Instead, I have made an actor component (an element that can be attached to any actor) called the Activator Component.
This activator component is the one telling the map the radius of chunks that needs to be generated around its position. This radius value is editabe at runtime.
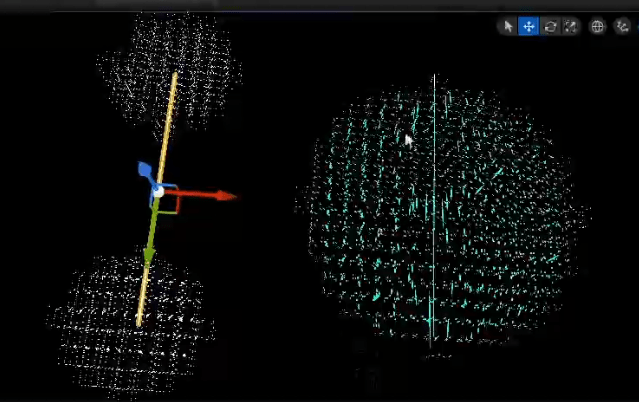
Activated chunks get generated, but they are not necessarily drawn as meshes: only the local player activator(s) trigger mesh generation. This way, we can have activators anywhere in the map loading chunks and (in the future) making them evolve / interact with other elements, even if the player is at the other side of the map.
Levels of Details
Generation time is a huge limiting factor when dealing with large maps. Even if we only generate the blocks that are actually visible (this will be discussed in a future post), at some point the size of the map just becomes a bottleneck.
A simple way of reducing the generation time is to generate less: by undersampling chunks based on the distance from the player activator(s), we can speed things up quite a bit.
The player pawn actually uses a special activator component, which not only tells the map which chunks to generate, but also with which LOD.
Note: this isn’t expanded in the video, but I’m actually managing two types of LODs:
- the meshing LOD,
- the generation LOD (which I called LOG for Level of Generation).
I will have to write an entire post about this subject, but the key giveaway here is that we only generate ‘full resolution’ chunks around the player, all the other chunks get less and less defined as they get farther.
Merged Chunks
Implementing LODs solves one problem: reducing the amount of blocks to generate. Another problem persists: the amount of meshes to draw. Indeed, whether a chunk is high or low res, whether its mesh has a high polycount or not, it represents one draw call (assuming a single material is applied).
Draw calls quickly become problematic if you want to have giant maps. A simple radius of 10 chunks around the player gives a square of 21 x 21 chunks (441 chunks total), not even counting the potential chunks in Z. And I want much more than that.
The solution is relatively simple: instead of meshing each chunk individually, we ‘merge’ them together. Nothing actually changes in the data, each chunk is still its own entity, but for meshing purposes only, we put adjacent chunks into groups and select a ‘master’ among them. The master is the only one drawing a mesh, including its own data and the data from its ‘children’ chunks.
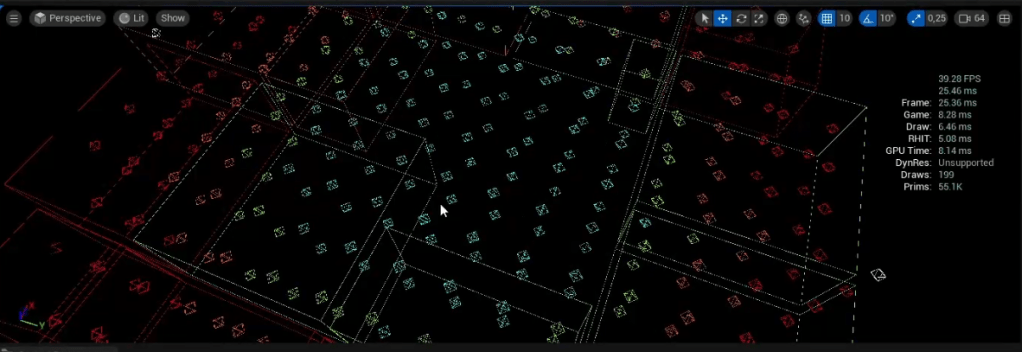
Merged chunks meshes can be quite slow to draw the first time, because they can represent many different chunks at once. On highly dynamic maps, this could become problematic. However, in a typical Minecraft-like game, most chunks are static and never get updated.
When a chunk does get updated, we simply ‘break’ the merged chunk, or we just extract the updated chunk from it.
Even then, we can disable merging for the LOD0 chunks, the ones that are fully generated and which are the only ones players, entities or events can actually edit anyway. So chunk merging is super efficient for the hundreds of lower LODs chunk that we generate, and which are quite fast to mesh.
As an example, in the video I went from 390 meshes (= draw calls) to 20 by enabling chunk merging.
Conclusion
These techniques are quite abstract right now, but it’s important to implement them early on so they can integrate well with the meshing.
Speaking about meshing, this is my next task! Now that everything presented on this article is in place, I can finally start taking care of setting up a basic generation of blocks and draw polygons for them.
This will take a while. Having the code from my previous project will certainly help make this a lot faster than if I had to implement this from scratch. Still, I have some new things I need to try out for the first time (I’m planning on allowing chunks to mix blocky-style meshes and marching cubes…).
But just before implementing the meshing, I have a few basic features to tackle, which will be the subject of the next couple of articles 🙂

Leave a comment