Now that we’ve covered the basics for chunk meshing and levels of details, it’s time to introduce a special kind of blocks, the custom blocks.
What are custom blocks?
When you think about a block / voxel based game, you think about cubes. Often, these games will also include some special blocks that are more complex than a simple cube, for example a block representing a set of stairs.
In my project, I took advantage of the code managing the chunk data and meshing to also cover custom-made blocks: as long as you keep using a uniform grid of blocks, a custom block can be thought of as a very small chunk. That’s as simple as that.

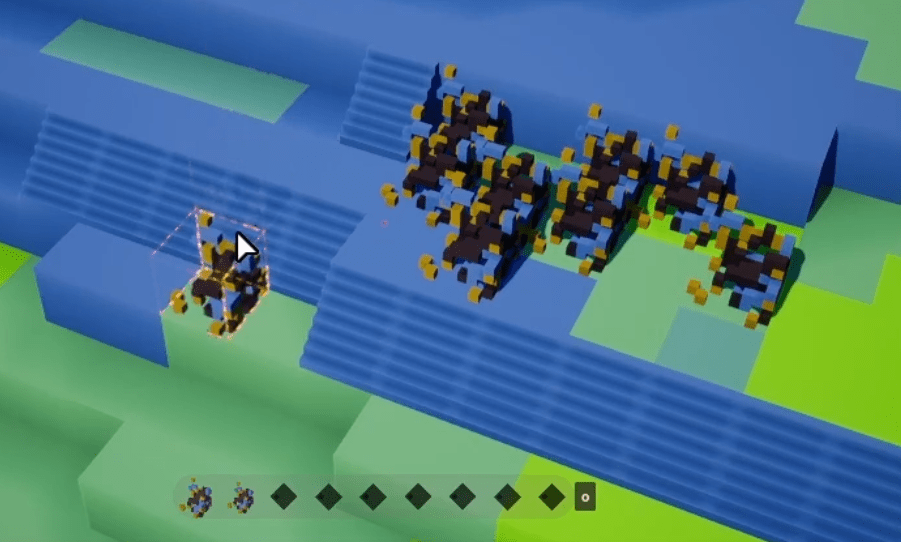
The above is a screengrab from the previous version of my project. Whether this particular one is a conclusive example of what a beautiful custom block design can be is up to debate, but I hope it is at least interesting to see.
Here, the user has opened a Custom Block Designer to place, block by block, various materials on a virtual 3d grid. In the game code, the result is indistinguishable from a regular chunk, and so it can be meshed with the exact same methods.

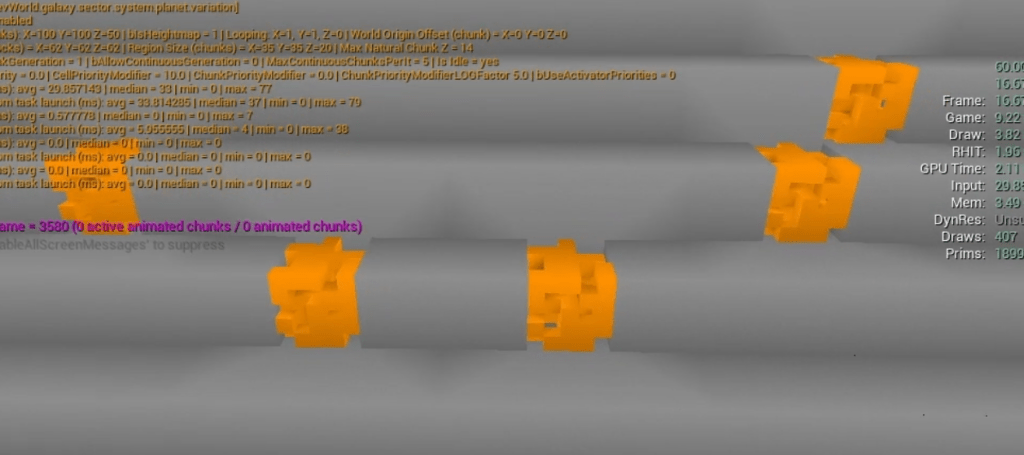
The above is a stair in construction, with the designer UI. I have not implemented this in my new project yet, but it’s planned for sure!
I don’t think I need to write much more about what custom blocks are, and it should be pretty obvious how powerful they can be, offering an unlimited amount of possibilities for player to experiment with.
As a reminder (and coming up in future articles), in my project blocks are made up of an arbitrary list of materials (that how they get their color). This means that by blending materials, player can design pretty much whaterver they want.
Chunk Sections
While you could conditionally branch during the chunk meshing algorithm between cubic and custom blocks, and hence keep both types of blocks in the same data structure, I have decided against it.
My custom blocks are held in a separate structure (in the same chunk).
The main reason is that, while I can restrict the heaviness of meshes the player is allowed to generate per custom block, you never know what crazy things your players are going to do.
Custom blocks, by their very nature, cost way more to mesh than simple cubic blocks. Having a few dozens custom blocks per chunk is completely fine, but depending on how heavy they are, performance can suffer rather quickly (time it takes to update the chunk mesh, cost of lighting / shadowing, etc).
This is why, from the get go, I have designed my chunk class (in the code) to be able to manage multiple sections of data. A section of data can cover the whole chunk size (in 3d), and each location can point to a specific block type (including custom blocks).
So we can have section A for cubic blocks, and section B for custom blocks, for example.
We can then decide to mesh these sections separately, so the cubic blocks section won’t be impacted by the heaviness of the custom blocks section.
You can even go further and dynamically create new sections for the chunk on the fly, as the player places more custom blocks on the ground. If, according to some heuristics (largely depending on your game), you think having all custom blocks in a single section is going to be too slow, you can create new ones and balance custom blocks in them.
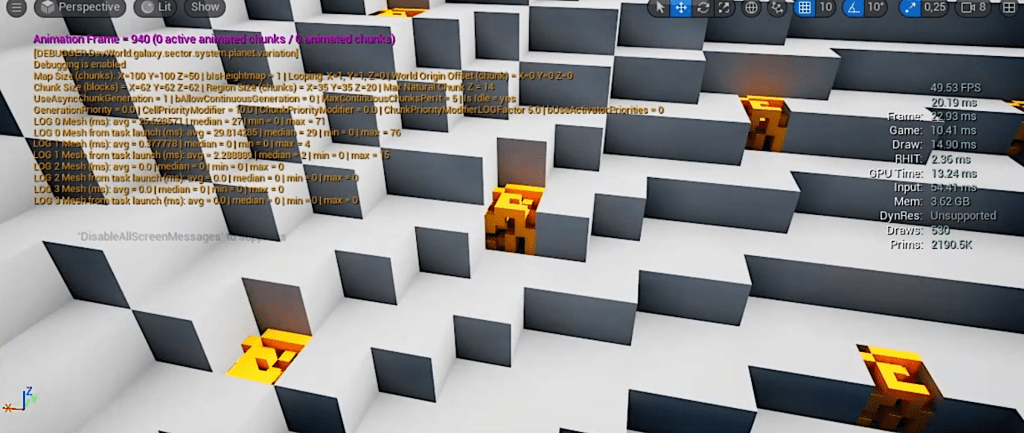
The main drawback of this technique is that each section meshed individually will produce 1 separate draw call. This is why, in my project, I’m only meshing custom blocks for the chunks that are close enough to the player (see previous articles about levels of details). All lower-res / background chunks virtually merge their sections together and mesh everything as simple, cubic blocks.
As a sidenote, another benefit of allowing multiple concurrent block sections per chunk (instead of hardcoding a single one) is that this unlocks the possibility of having multiple blocks at the same location. Sounds crazy? Maybe, but it can be very useful for decorations effect or additive generation, with a ‘main’ block and some extra, secondary block at the same location. I guess I will touch on that in a future article.
The Ambient Occlusion Problem
Designing custom blocks is cool. However if, like me, you are baking ambient occlusion information on the vertices (see the article about meshing), you’ll soon realize that the easyness which we took for granted when computing AO on cubic blocks suddenly vanishes when custom blocks come into play.
Indeed, custom blocks could be almost as full as a cubic block, or they could be made of a single mini-block in the middle. This means that, for ambient occlusion purposes, we need to consider custom blocks as empty blocks.
If we don’t, the cubic blocks with adjacent custom blocks will have darker vertices in corner and sides where they should not, and it will be visiblity very strange for the player.
This solution isn’t perfect, obviously:
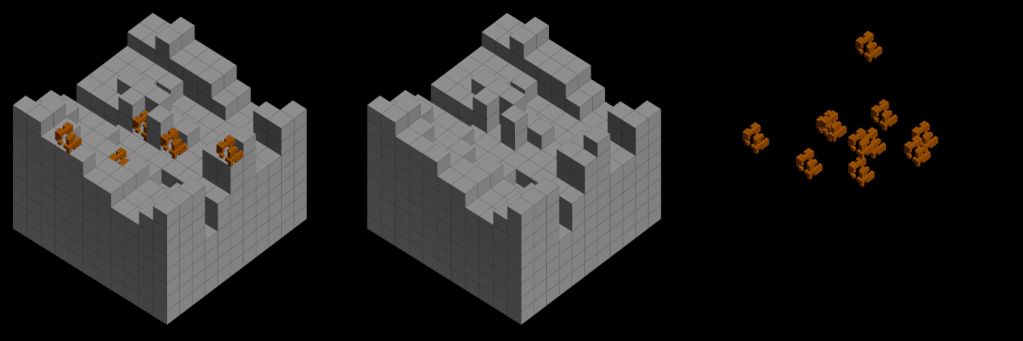
The above is an unlit view of a piece of chunk. You should be able to notice the lighter shading on cubic (grey) blocks around the custom blocks (orange). If these custom blocks had been cubic (ie not custom blocks), the ambient occlusion would have been darker. As a reminder, in this example the orange custom block is relatively full (almost a full cubic block), but it could have been a single mini-block on one corner or in the middle, and having darker AO on the cubic blocks would have been very jarring. This is why we can’t assume custom blocks are ‘solid’.
In a lit environment, with lighting, this issue is much less visible. Also, if you are using a Global Illumination solution (such as Lumen in Unreal Engine), you might not even need to bake ambient occlusion on blocks that are very close to the player. GI usually does a good job of giving very similar results to the baked ambient occlusion. You could have a blend in the chunk material to disregard the vertex baked ambient occlusion as you get very close to the camera.
Computing the occlusion for the custom block itself
We just talked about the ambient occlusion of the cubic blocks in relation to the adjacent custom blocks, but what about the AO for the custom block itself?
First, as stated at the beginning of this article, because the custom blocks are based on the exact same structure that the chunks are based on, the ambient occlusion of the internal mini-blocks of the custom blocks is already computed for us. First problem solved!
Now, for the ambient occlusion generated by the adjacent cubic blocks, I used a simple technique: during the custom block design phase, the game is virtually grouping the vertices based on the distance to the closest side (+X, -X, +Y, -Y, +Z, -Z).

Then, when trying to compute the AO from the adjacent blocks as usual, I’m blending this computed AO (linear interpolation) based on this distance. Simple!
Conclusion
Custom blocks are a key aspect of my project, and I designed around them since the beginning.
One big topic I haven’t touched in this article is the underlying data structure in the code, especially regarding networking. Indeed, in multiplayer, because these custom designs are not hardcoded and the game doesn’t know about them until a player create them, there is a lot of relatively complex systems to manage behind the scenes. This would make for a very boring article (not that the previous ones where particularly exciting).
Next up, we’re going to talk about yet another type of blocks: the smart blocks. They are like custom blocks, but better! Stay tuned!

Leave a comment